DIY: Door Draft Guard
 November 14, 2010
 It's mid-November and we've started turning on the heat up here in the Hudson Valley. Turning up the thermostat also means turning up our gas bill. We moved here last December and it wasn't until February (and after two blizzards) that we got our first bill (yikes!). After the shock settled in we realized we had to find ways to keep the heating costs down by keeping the heat inside the house. Locating drafts and leaks is an ongoing project, but one of the biggest problems areas I couldn't figure out how to block: the front door.
Fast forward a year and I'm at Home Depot and see an ingenius product called the Twin Draft Guard. It was only $10.98, which isn't unreasonable, but it occured to me that I could make the same thing for less than $3.
Supplies
- 3/8" thick Polyethylene Foam Pipe Insulation
- (2) 31" x 8" piece of durable, non-stretch fabric (demin, canvas, cotton twill...) *
- 6" or 8" zipper (or bigger, you'll just cut off the rest)
- thread that blends or coordinates with the right side of the fabric
* size of fabric may differ depending on your door.
Instructions
1. Measure the width and the depth of your door. Most doors will be about 31" x 2" and require a 31"x16" inch piece of fabric. If your door is bigger or smaller simply add or subtract the difference when you cut your fabric.
2. Lay your zipper down on the top edge of one piece of fabric (RIGHT sides together), so that the 6" zipper is lined up with the 8" Pin the zipper in place.

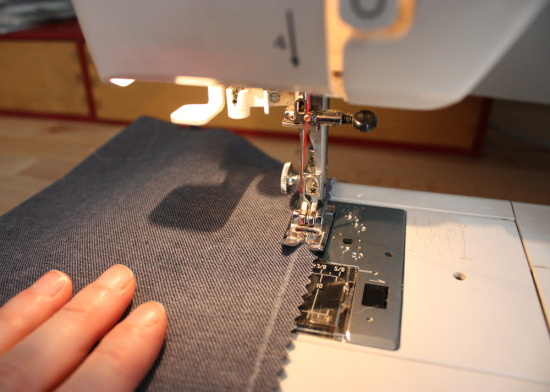
3. Use the ZIPPER FOOT on your machine to sew the zipper to the fabric. Backstich to secure.

4. Unzip your zipper and pin the opposite piece of the zipper to your second piece of fabric - do exactly the same as you did in Step 2. Sew the zipper to the second piece of fabric just like you did in Step 3.

5. Put on your regular machine foot. Close the zipper and with the right sides together sew the two pieces of fabric together on the right and left side with a 1/4" seam allowance.

6. Unzip the zipper (you'll need this in a minute). With the right sides still togther, sew the open bottom (the bottom without the zipper) with a 1/4 seam allowance.

7. Pull the fabric through the zipper opening and turn the pocket right side out. Use your fingers to straighten out the four corners.

8. Flatten the tube/pocket of fabric on a surface and mark 2 3/4" from the right side and left side and draw lines down the length of the fabric. You should end up with 2 lines that segment the fabric roughly into 3 parts measuring 2 3/4", 2", and 2 3/4".

9. Sew down the lines from the bottom until about 1 inch below the zipper.
10. Insert one tube of Polyethylene Foam Pipe Insulation in the left segment of the fabric and one piece of foam in the right segment of the fabric. You'll probably have to trim the foam so it fits into the fabric pocket and zips closed. You can use scissors to trim the foam.

11. You now have a draft guard! Slip it under your door and make sure the door closes shut. If you have trouble slipping it under your door this way you can always take out the foam, slip the fabric under the door and then insert the foam.

12. Watch your heating bill and hope for the best!
 |
|  Post a Comment


Reader Comments